If you built your website using the Avada WordPress theme you already have access to thousands of free icons as well as the ability to upload and use custom icons. In this article, we will show you how to set up and use custom icons in Avada.
Creating Custom Icons in Avada (Video Tutorial)
Creating Custom Icon Sets
The first thing to do when setting up custom icons in Avada is to create a custom icon set. A custom icon set will be used to categorize your custom icons. This will be very useful when uploading custom icons to represent different aspects of your website.
Having multiple custom icon sets will also allow you to assign different CSS prefixes to different icons. This makes styling your icons much easier.
To create your first custom icon set head to the WordPress dashboard. Under the Avada dropdown menu select “icons.”
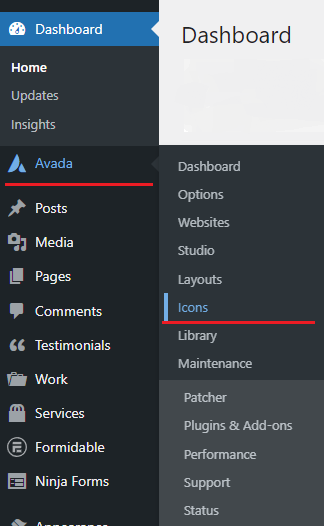
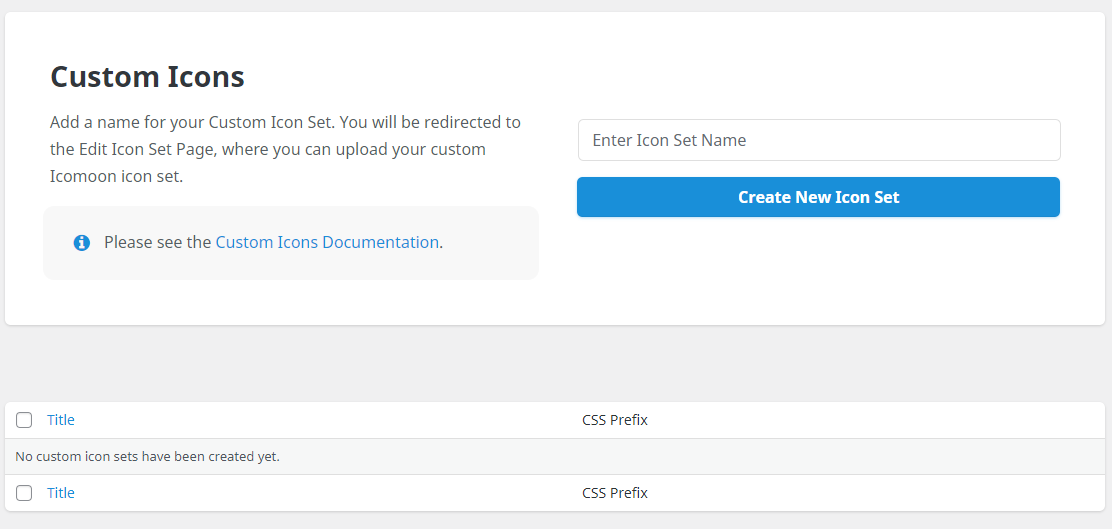
Once selected you will be brought to the following screen. In the text field, you can name your icon set. Feel free to name it whatever you want.
Creating Your Custom Icons
Once you’ve settled on a name for your custom icon set click the button below the text field. Next, you will be treated by this screen.

The WordPress Avada theme has built-in support for the Icomoon tool. It is a very useful tool that allows you to add thousands more custom icons from their library or even upload your own custom icons. This is the tool we will be using to add custom icons to Avada. Clicking the link to Icomoon in the center of the page will take you to Icomoon’s library of free custom icons.
While on Icomoon, you can browse their premium icon library to find other icons you may want to include on your website. In the top left of Icomoon’s navigation bar, you will see a button to “import icons.” You can use this option to upload your own SVG files to Icomoon. Icomoon will only accept SVG files. Thankfully you can convert any graphic into SVG format using tools like Adobe Illustrator.
If you chose to upload your own custom icons instead of using Icomoon’s library you will also need to edit the properties of the SVG you uploaded. On the right-hand side of your screen, you will see a hamburger menu drop-down. Click on the menu and select “properties.”

Under the color theme option, be sure to click “Remove All Colors.”
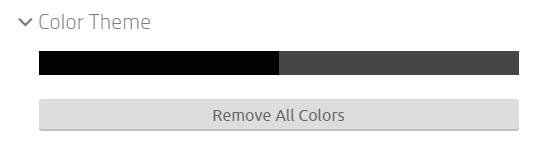
Depending on your SVG the color theme that appears may look different from the above screenshot. Removing the colors from your SVG will allow you to change the colors of your icons in the Avada options.
Exporting Your Icons
The next step is to select the icons you want to add to Avada. Clicking each icon will highlight them in a bright orange indicating they are selected. Once you’ve selected all the icons you want to add to Avada, click “Generate Font” in the bottom right of your screen.

You will now see all the icons you’ve selected and their names. In the bottom right of your screen, you may have noticed that the “Generate Font” button has changed to a”Font Download” button. Don’t click download just yet! There is 1 more important step to take before downloading your custom icons.
Beside the download button, click on the gear icon to change your download settings. Be sure to give your icons a unique font name and a unique class prefix. Skipping this step can lead to your icons not appearing or breaking other elements of your website where icons and CSS class prefixes overlap.
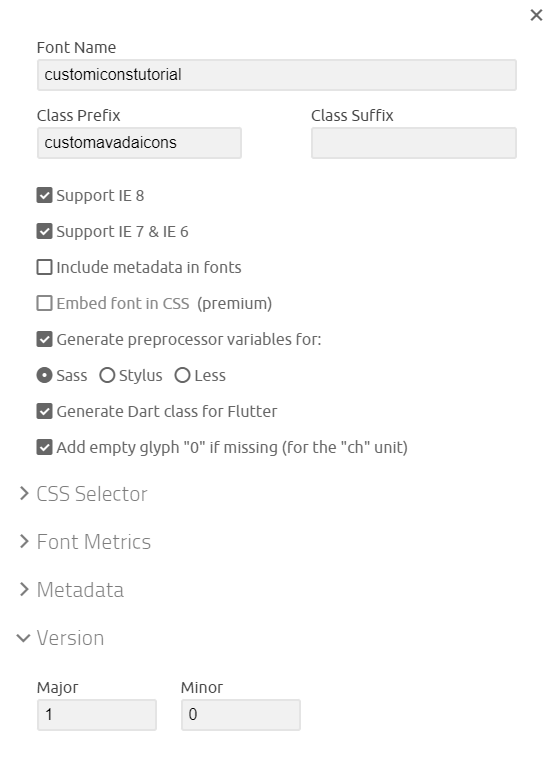
As for the checkboxes, we have found that the above options yield the best results across the most browsers. Some browsers do not support IE 8 and but do support IE 7 and 6. Depending on your settings you may have different results. While you can experiment with these settings, we recommend copying the above screenshot to have the best performance. Once you’ve done this, you’re ready to download your icons!
Uploading Your Custom Icons To Avada
Now you should have a zip file containing all of the custom icons you’ve selected in Icomoon. You can now return to your WordPress dashboard and drag the zip file into the upload area of Avada. You can also click the “select file” button to upload the zip file.
Once the upload is complete you will see the graphics and names of your new custom icons take the place of the Icomoon text. Once you’ve confirmed that all the custom icons you’ve selected are there, press update, and your custom icons are ready to go. If you don’t see your custom icons go back to Icomoon and ensure that you’ve copied the above download settings exactly. Congratulations you’ve successfully set up custom icons in Avada!
To learn more about website design, check out the rest of our blog. We also publish articles covering SEO, digital marketing, and statistics.
Originally published . Last updated .
Categories:


Explore More